
1. Introduction: The Modern Approach to Copper Joints
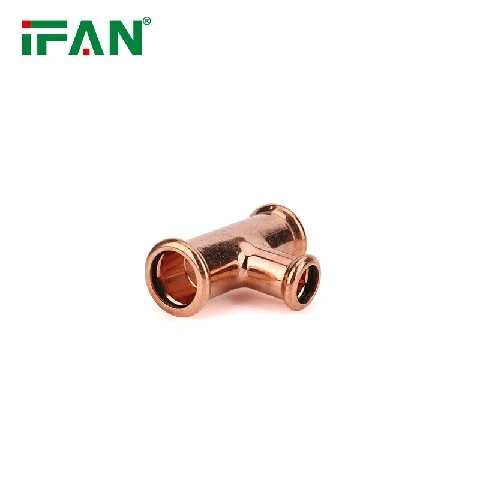
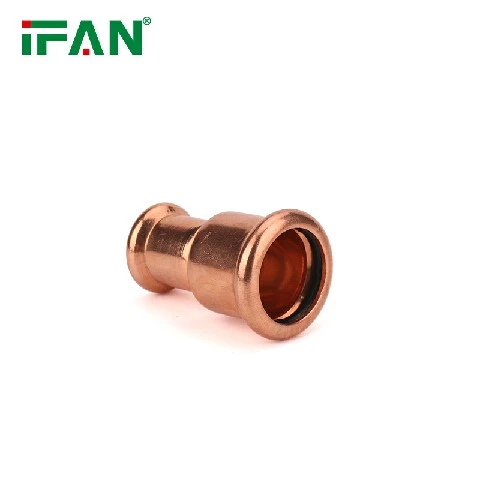
Copper press fitting technology represents a significant advancement in plumbing installation methods, offering a reliable alternative to traditional soldering. This mechanical joining system utilizes specialized tools to create permanent, leak-proof connections in seconds, eliminating the need for open flames, solder, or chemical fluxes. The pressing process deforms a specially designed fitting around the copper pipe, creating a secure mechanical bond that maintains copper's inherent benefits while addressing the challenges of conventional joining techniques. This guide provides a comprehensive, step-by-step approach to proper installation, ensuring optimal performance and long-term reliability for residential, commercial, and industrial applications.IFAN factory 30+ years manufacture experience support color /size customization support free sample.Welcome to consult for catalog and free samples.This is our Facebook Website:www.facebook.com.
2. Pre-Installation Preparation and Safety Measures
Proper preparation establishes the foundation for successful press fitting installation. Begin by verifying that all materials-pipes, fittings, and pressing tools-are compatible and appropriate for the specific application. Ensure the work area is clean, well-ventilated, and free of combustible materials. Review manufacturer specifications for both fittings and tools, noting any special requirements for pipe type, size, or application conditions. Gather all necessary personal protective equipment including safety glasses and gloves. Confirm that the pressing tool is fully charged or connected to power source, and verify that the correct jaw size for the pipe diameter is properly installed on the tool before beginning work.
3. Tool Selection and Verification
Selecting the appropriate pressing tools is critical for achieving reliable connections. Use only manufacturer-recommended pressing tools designed specifically for the fitting system being installed. Before starting, verify that the tool batteries are fully charged or that the power cord reaches the work area without creating a tripping hazard. Inspect the pressing jaws for wear, damage, or debris that could affect performance. Ensure the jaws match the pipe size being installed-common sizes include ½", ¾", 1", and 2" diameters. Many modern pressing tools feature visual indicators or audible signals that confirm proper compression; familiarize yourself with these signals before beginning installation.
4. Pipe Preparation and Measurement
Proper pipe preparation ensures optimal fitting engagement and seal integrity. Cut the copper pipe square using a rotary pipe cutter, avoiding saws that create burrs or uneven ends. After cutting, use a deburring tool to remove both internal and external sharp edges, creating smooth surfaces that won't damage the O-ring during insertion. Measure and mark the pipe insertion depth using the manufacturer-provided gauge or by dry-fitting the fitting and marking the pipe. Clean the pipe end to the insertion depth mark using a clean cloth or approved cleaning tool to remove dirt, oils, or oxidation. Avoid using abrasive materials that could scratch the copper surface.
5. Fitting Inspection and Assembly
Thorough fitting inspection prevents potential issues before assembly. Examine each fitting for visible damage, verifying that the O-ring is properly seated, undamaged, and free of debris. Check that the fitting interior is clean and smooth. Apply a small amount of manufacturer-approved lubricant to the pipe end if recommended, taking care to avoid excessive application that could compromise the seal. Align the pipe and fitting without bending or forcing components into position. Insert the pipe into the fitting until it reaches the depth mark, ensuring straight alignment throughout the assembly process. Verify that the pipe is fully seated against the fitting stop.
6. The Pressing Process and Quality Verification
The pressing operation requires proper tool positioning and controlled activation. Position the pressing tool jaws squarely over the fitting's press indicators, ensuring the tool is perpendicular to the pipe. Activate the tool until it completes the press cycle automatically, indicated by an audible click, visual signal, or tool release. Maintain tool position until the cycle completes fully-do not release prematurely. After pressing, inspect the connection for uniform jaw indentation around the entire fitting circumference. Verify that the fitting's visual inspection indicator is fully visible, confirming proper installation. Repeat this process for each connection in the system.
7. System Testing and Commissioning
After completing all connections, system testing validates installation quality. Install pressure test plugs or caps on all open ends, then slowly fill the system with water, bleeding air from high points. Increase pressure gradually to the required test pressure, typically 1.5 times the working pressure or as specified by local codes. Maintain pressure for the duration specified by applicable regulations, typically 15-30 minutes for residential systems and longer for commercial installations. During this period, carefully inspect every connection for leaks while monitoring pressure gauges for any drops. Document test results for quality assurance records and project documentation.
8. Troubleshooting Common Installation Issues
Even with proper procedure, occasional issues may arise. If a fitting fails to press completely, verify tool compatibility, battery charge, and jaw size. For leaks at pressed joints, check for proper pipe insertion, O-ring damage, or incorrect jaw alignment during pressing. If pipes won't seat fully in fittings, verify proper cutting and deburring, and check for out-of-round pipes. When encountering resistance during pipe insertion, ensure the pipe end is smooth and properly lubricated if recommended. Never attempt to repair a pressed fitting by re-pressing-always cut out the faulty connection and install new components using proper procedure.
9. Maintenance and Best Practices for Long-Term Performance
While pressed systems require minimal maintenance, certain practices ensure ongoing reliability. During system operation, monitor for unusual pressure fluctuations that could indicate developing issues. In accessible locations, periodically visually inspect pressed connections for signs of corrosion or physical damage. When modifying existing systems, always use the same manufacturer's fittings and tools to ensure compatibility. For repairs, cut the pipe at least 2 inches away from existing pressed fittings to avoid heat-affected zones if using soldering methods nearby. Keep pressing tools clean, properly stored, and regularly maintained according to manufacturer recommendations to ensure consistent performance.
10. Conclusion: Mastering Efficient Installation Techniques
Copper press fitting installation, when performed following proper step-by-step procedures, delivers consistent, reliable results that leverage the full benefits of this innovative technology. The method's success hinges on meticulous preparation, precise execution, and thorough verification at each stage. By mastering these techniques, installers can significantly reduce project timelines while maintaining quality standards that often exceed those achieved through traditional joining methods. As the industry continues embracing this efficient approach, following these comprehensive guidelines ensures installations that provide decades of trouble-free service, establishing copper press systems as a mainstay in modern plumbing methodology.