
The expansion of PEX (cross-linked polyethylene) pipes is a critical process in plumbing and heating installations, as it allows for the creation of secure, leak-proof connections. Here's a detailed overview of the expansion process for PEX pipes:
1. Tools Required for Expanding PEX Pipes
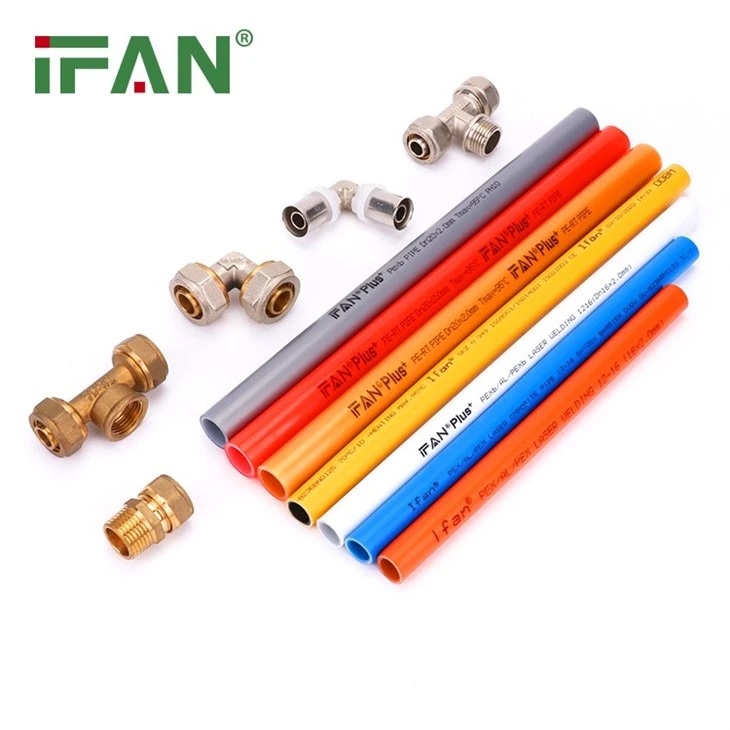
PEX Expansion Tool: This is a specialized tool designed to stretch the end of the PEX pipe, creating a temporary enlargement that allows for the insertion of a fitting.IFAN factory 30+ years manufacture experience support color /size customization support free sample.Welcome to consult for catalog and free samples.This is our Facebook Website:www.facebook.com.
PEX Fittings: These are typically made of brass or polymer and are designed to fit snugly into the expanded end of the PEX pipe.
Deburring Tool: Used to remove any burrs or rough edges from the cut end of the PEX pipe before expansion.
Cutting Tool: A PEX pipe cutter is used to make clean, square cuts on the pipe.
2. Steps for Expanding PEX Pipes
Cut the PEX Pipe:
Use a PEX pipe cutter to make a clean, square cut on the end of the pipe. This ensures a proper fit and reduces the risk of leaks.
Deburr the Pipe:
Use a deburring tool to remove any burrs or rough edges from the cut end of the pipe. This step is crucial to prevent damage to the expansion tool and ensure a smooth connection.
Insert the Pipe into the Expansion Tool:
Place the end of the PEX pipe into the expansion tool. The tool should be sized appropriately for the diameter of the pipe (e.g., 1/2-inch, 3/4-inch, etc.).
Expand the Pipe:
Activate the expansion tool to stretch the end of the PEX pipe. The tool will apply pressure to the pipe, causing it to expand temporarily. This creates a space for the fitting to be inserted.
Insert the Fitting:
Quickly insert the PEX fitting into the expanded end of the pipe. The fitting should be pushed in fully until it is seated properly.
Allow the Pipe to Contract:
The PEX pipe will begin to contract around the fitting as it cools and returns to its original shape. This creates a tight, leak-proof seal.
Inspect the Connection:
Once the pipe has contracted, inspect the connection to ensure it is secure and leak-free. You can do this by gently tugging on the fitting or by performing a pressure test if necessary.
3. Tips for Successful PEX Pipe Expansion
Use the Correct Tool: Ensure you are using an expansion tool that is specifically designed for PEX pipes and is the correct size for your pipe diameter.
Work Quickly: The expanded end of the PEX pipe will begin to contract almost immediately after expansion. It's important to insert the fitting quickly to ensure a proper seal.
Avoid Over-Expansion: Over-expanding the pipe can weaken it and increase the risk of leaks or failure. Follow the manufacturer's instructions for the correct expansion depth and duration.
Check for Defects: Before expanding the pipe, inspect it for any cracks, kinks, or other defects that could compromise the connection.
4. Advantages of PEX Pipe Expansion
Leak-Proof Connections: The expansion method creates a strong, reliable seal that is less prone to leaks compared to other connection methods.
Flexibility: PEX pipes are highly flexible, making them easier to install in tight spaces and around corners.
Corrosion Resistance: PEX pipes are resistant to corrosion and scaling, which can extend the lifespan of your plumbing system.
Cost-Effective: PEX pipes and fittings are generally more affordable than copper or other metal piping materials.