
Renovating your home? Let's talk pipes. PPR (Polypropylene Random Copolymer) pipes are the unsung heroes of modern plumbing-they're tough, last decades, and handle hot water like a champ. But install them wrong, and you're in for leaks, mold, and a wallet-emptying disaster. Don't panic! This guide breaks it down into simple steps even a DIY newbie can follow.IFAN factory 30+ years manufacture experience support color /size customization support free sample.Welcome to consult for catalog and free samples.This is our Instagram Website: www.instagram.com.
Step 1: Plan Your Attack (Like a Boss)
First, grab a pen and paper. No, seriously-sketch your layout.
Hot vs. Cold: Stick to "left hot, right cold" (or "top hot, bottom cold" if pipes run vertically). Keep them 15cm apart to avoid mixing temps.
Avoid Zigzags: Every 90-degree bend slows water flow. Use 45-degree elbows instead-they're like shortcuts for water.
Think Ahead: Leave access panels near water heaters, sinks, or showers. Future you will high-five present you when a clog happens.
Step 2: Cut & Prep Like a Pro
Tools: Use a pipe cutter (not a hacksaw!). It gives clean, straight cuts. Jagged edges = weak joints.
Deburr: After cutting, scrape off any inside burrs with a utility knife. Smooth edges help water flow smoothly.
Measure Twice: PPR pipes don't forgive "oops, too short" moments. Add 2-3cm extra for wiggle room.
Step 3: Heat Fusion-The Magic Trick
This is where PPR pipes shine (and where most DIYers sweat).
Heat Gun: Get a proper PPR heat fusion machine (not a DIY hack job). Set it to 260℃ (±5℃).
Heat Time:
20mm pipe: 5 seconds
25mm pipe: 7 seconds
Tip: Count slowly-"one Mississippi, two Mississippi…"
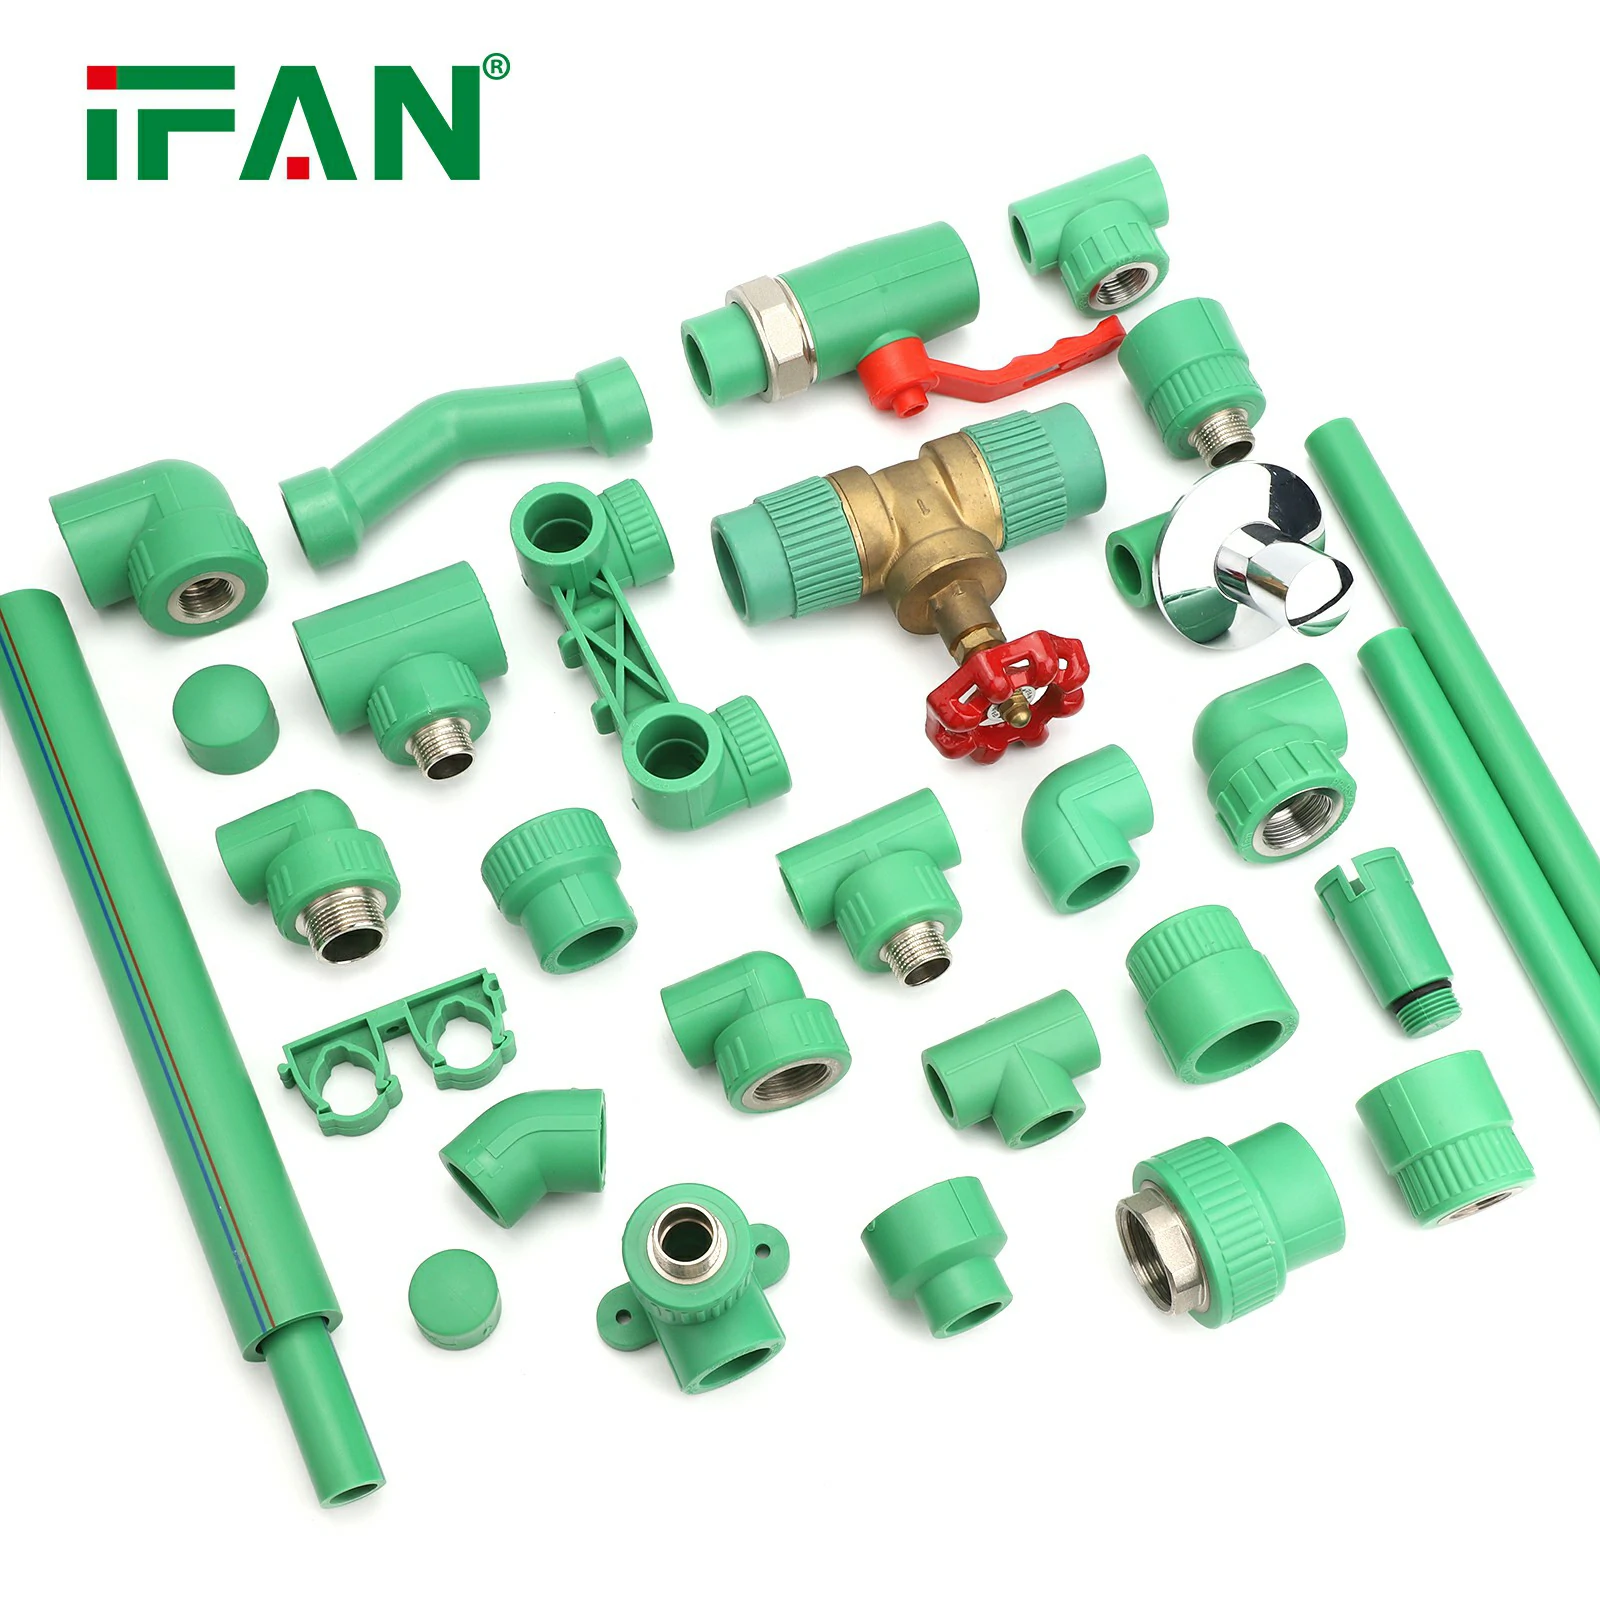
Insert & Hold: Push pipe and fitting together firmly (no twisting!). Hold for 5 seconds to let the plastic cool and bond. A good joint looks like a slightly bulging ring-not flat or burnt.
Step 4: Secure & Protect Your Investment
Clips Are Key: Space clips ≤60cm for cold pipes, ≤25cm for hot. Add clips within 10cm of bends to prevent sagging.
Quiet the Noise: Wrap pipes in foam sleeves where they pass through walls or floors. Water hammer (that banging noise) is annoying-and can crack pipes over time.
Insulate Hot Pipes: Save on gas bills and prevent condensation drips by wrapping hot pipes in foam.
Step 5: Ceiling vs. Floor-The Great Debate
Ceiling Wins: Costs more but avoids flooding neighbors. If you go floor, trench deep (pipe + 1.5cm) and wrap in cement during backfill to protect from rocks.
Step 6: Pressure Test-Don't Skip This!
How: Block all openings, pump pressure to 0.8–1.0 MPa (8–10 kg/cm²), and hold for 30 minutes. Pressure drop ≤0.05 MPa? You're good to go.
Why: Catches weak joints before you tile over them. Imagine redoing your bathroom because of a hidden leak. Shudder.
Final Tips to Avoid "Oops" Moments
Buy Quality: Look for "NSF" or "WRAS" certs. Cheap pipes crack faster than a potato chip in a toddler's hand.
Watch the Pros: If hiring help, watch them heat-fuse. Many "plumbers" use glue instead-big no-no for PPR.
Test Early: Before sealing walls, run water and check for slow leaks or low flow. Fix it now, not later.
You've Got This!
Installing PPR pipes isn't rocket science, but it does require patience. Follow these steps, and you'll avoid the "leaky regrets" and enjoy a plumbing system that outlasts your kids' teen years. Now go forth and conquer those pipes-like the homeowner hero you are!